
How to create a connection
This section will take you through how to create a connection for a selected connector.
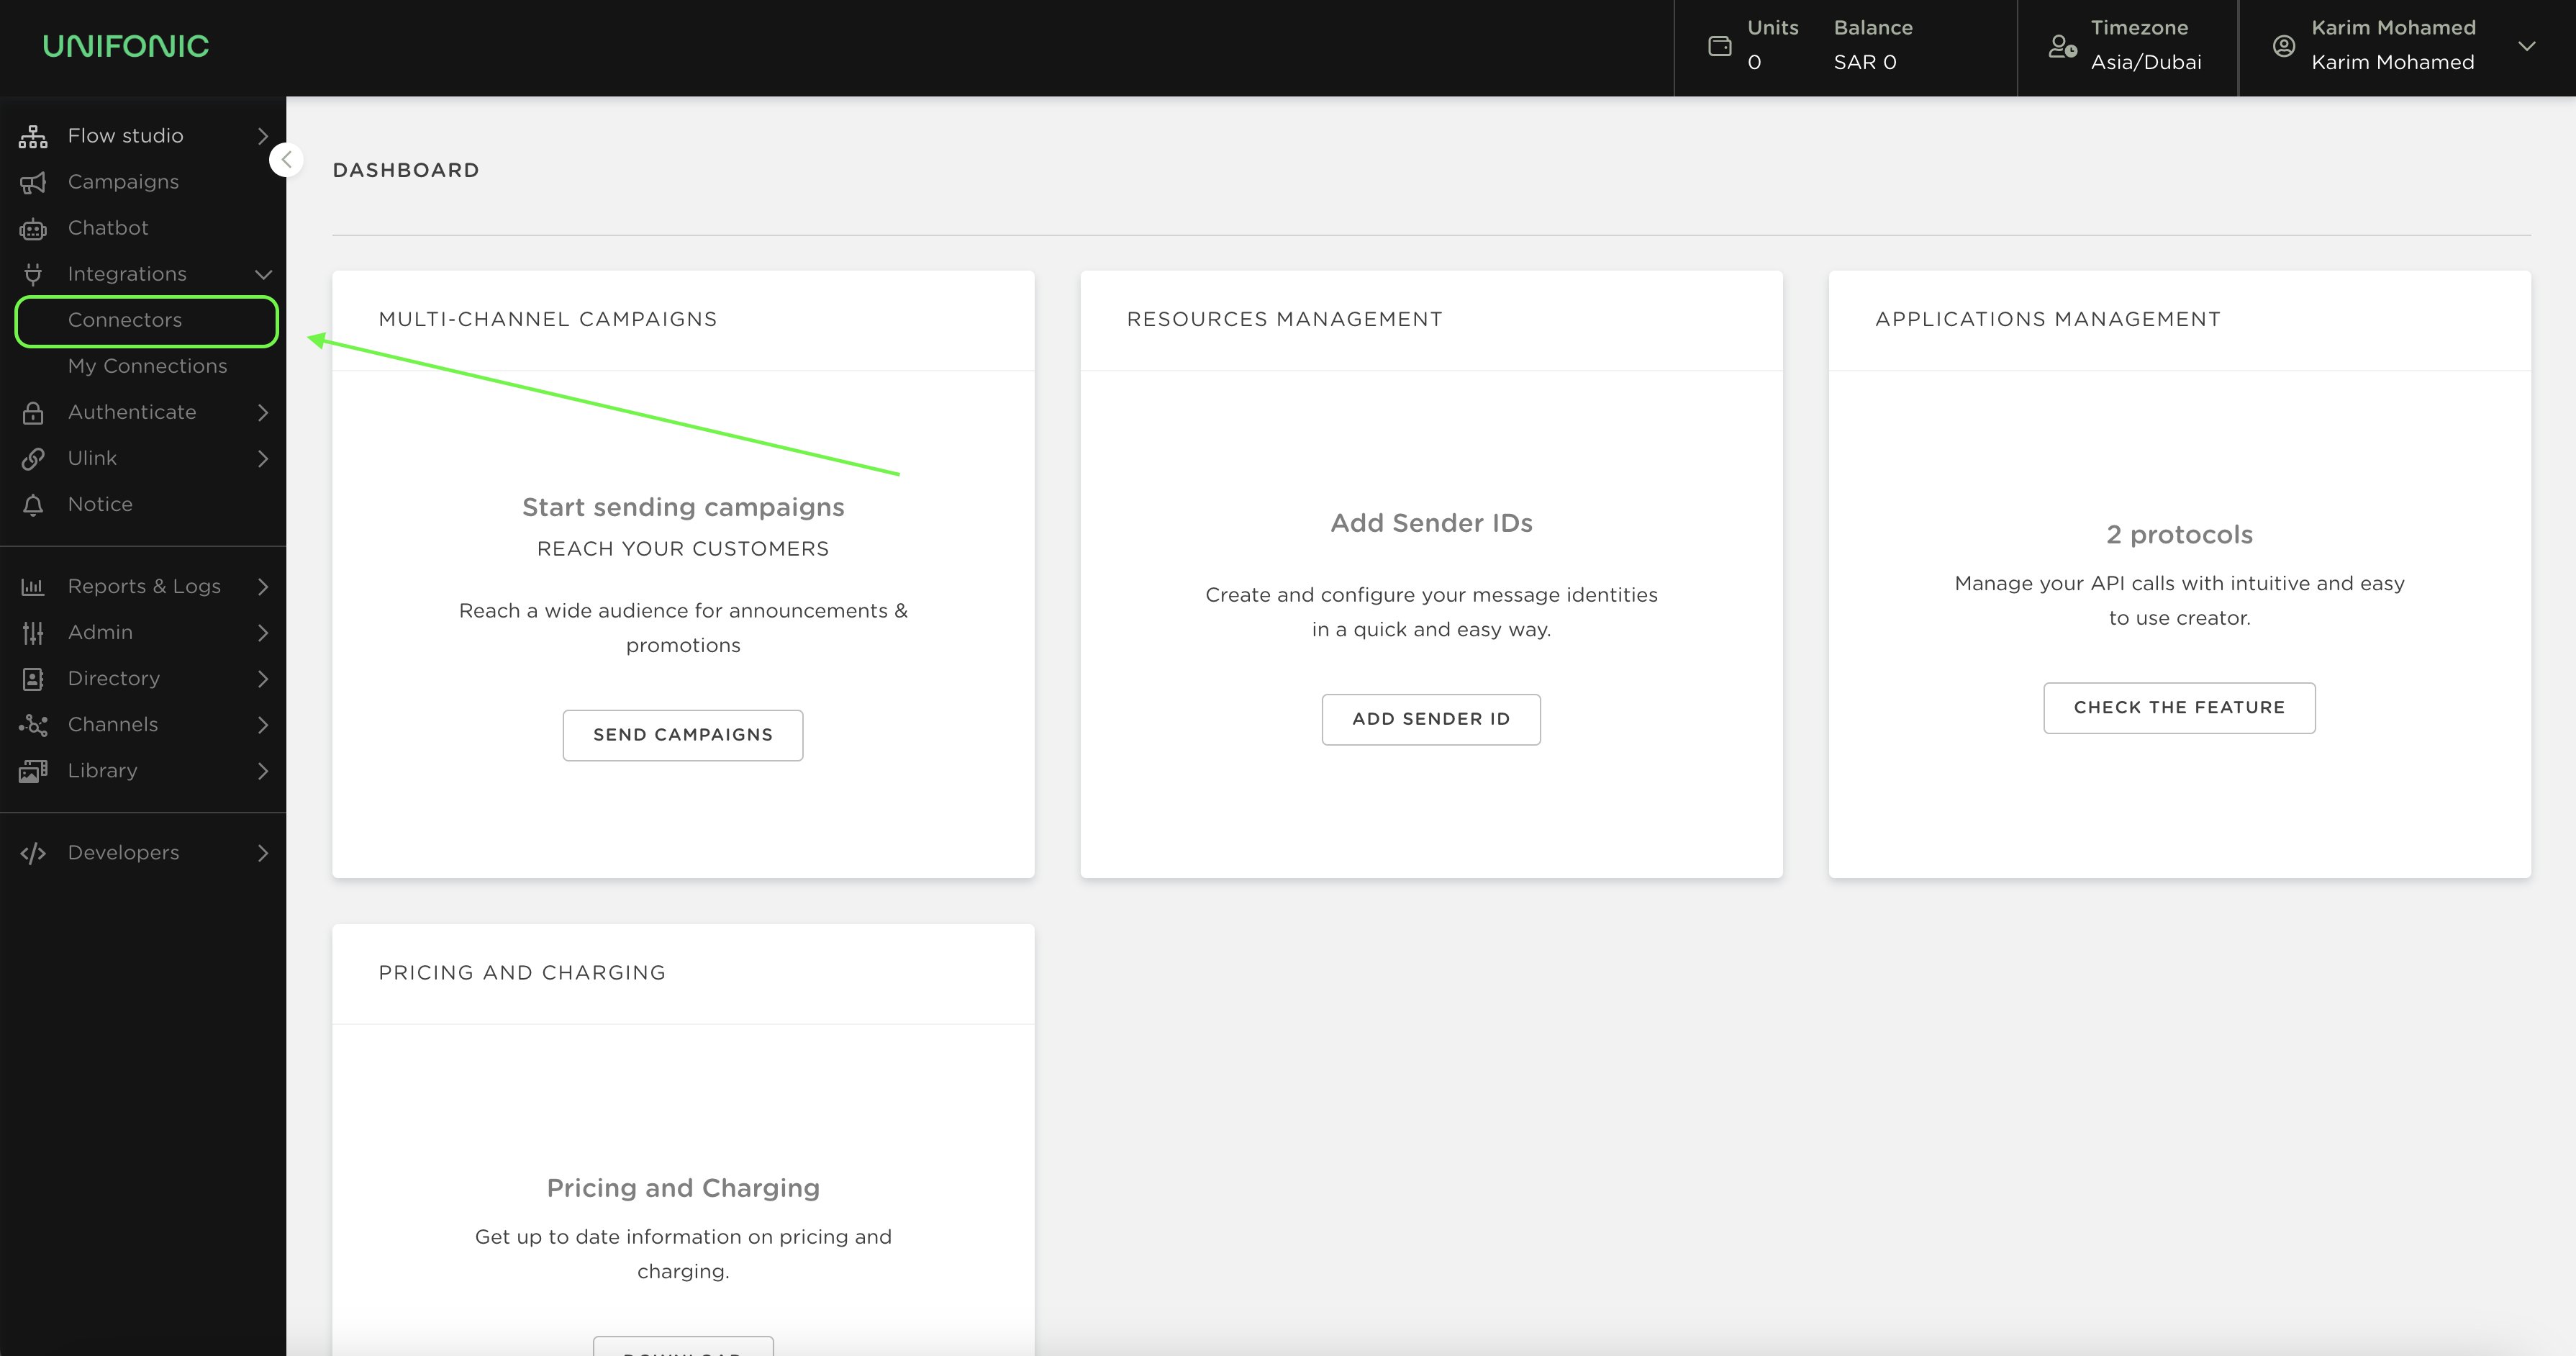
- Select from our UC platform the module of Integrations and then select connectors.
- Once you access the connectors section you will see all the available native connectors. From this section you can either click on the add connection and start the integration, Or you can click on the Know more link that will take you to all the use cases covered with the integration.
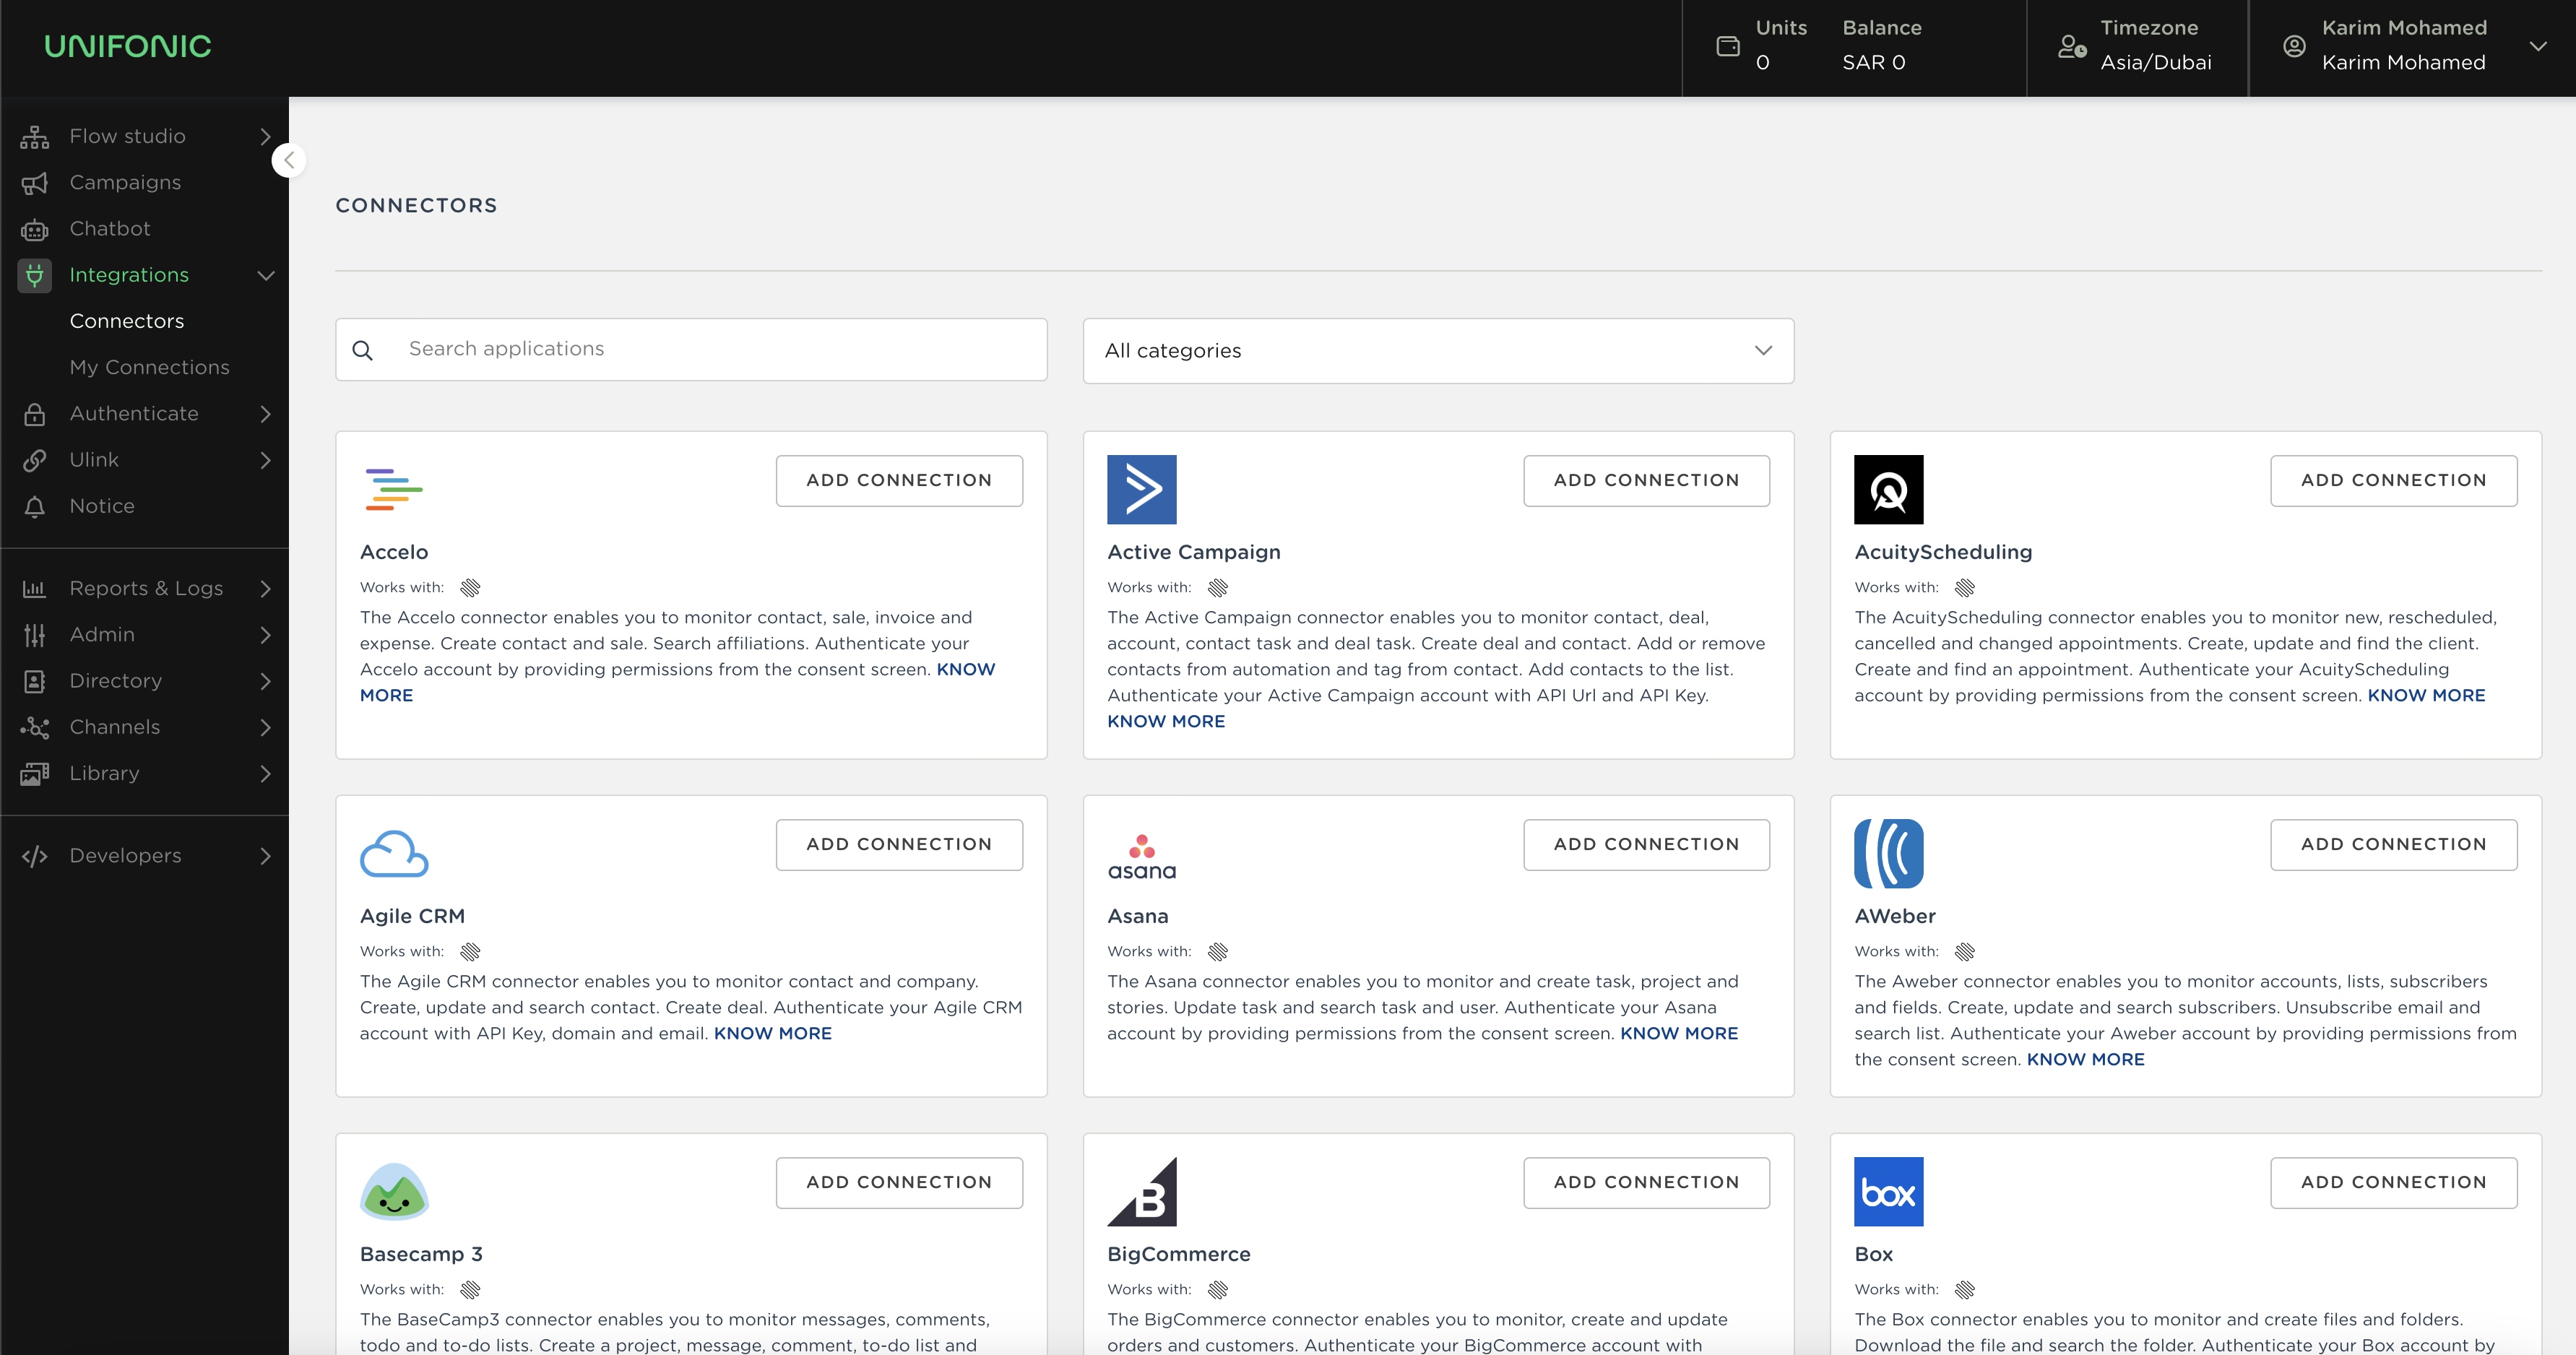
Note: In case you do not find the integration you are looking for. Please get in touch with one of our sales representatives and we can work on the required integration based on your requirements.
This is the view you will have when you click on know more for a specific connector.
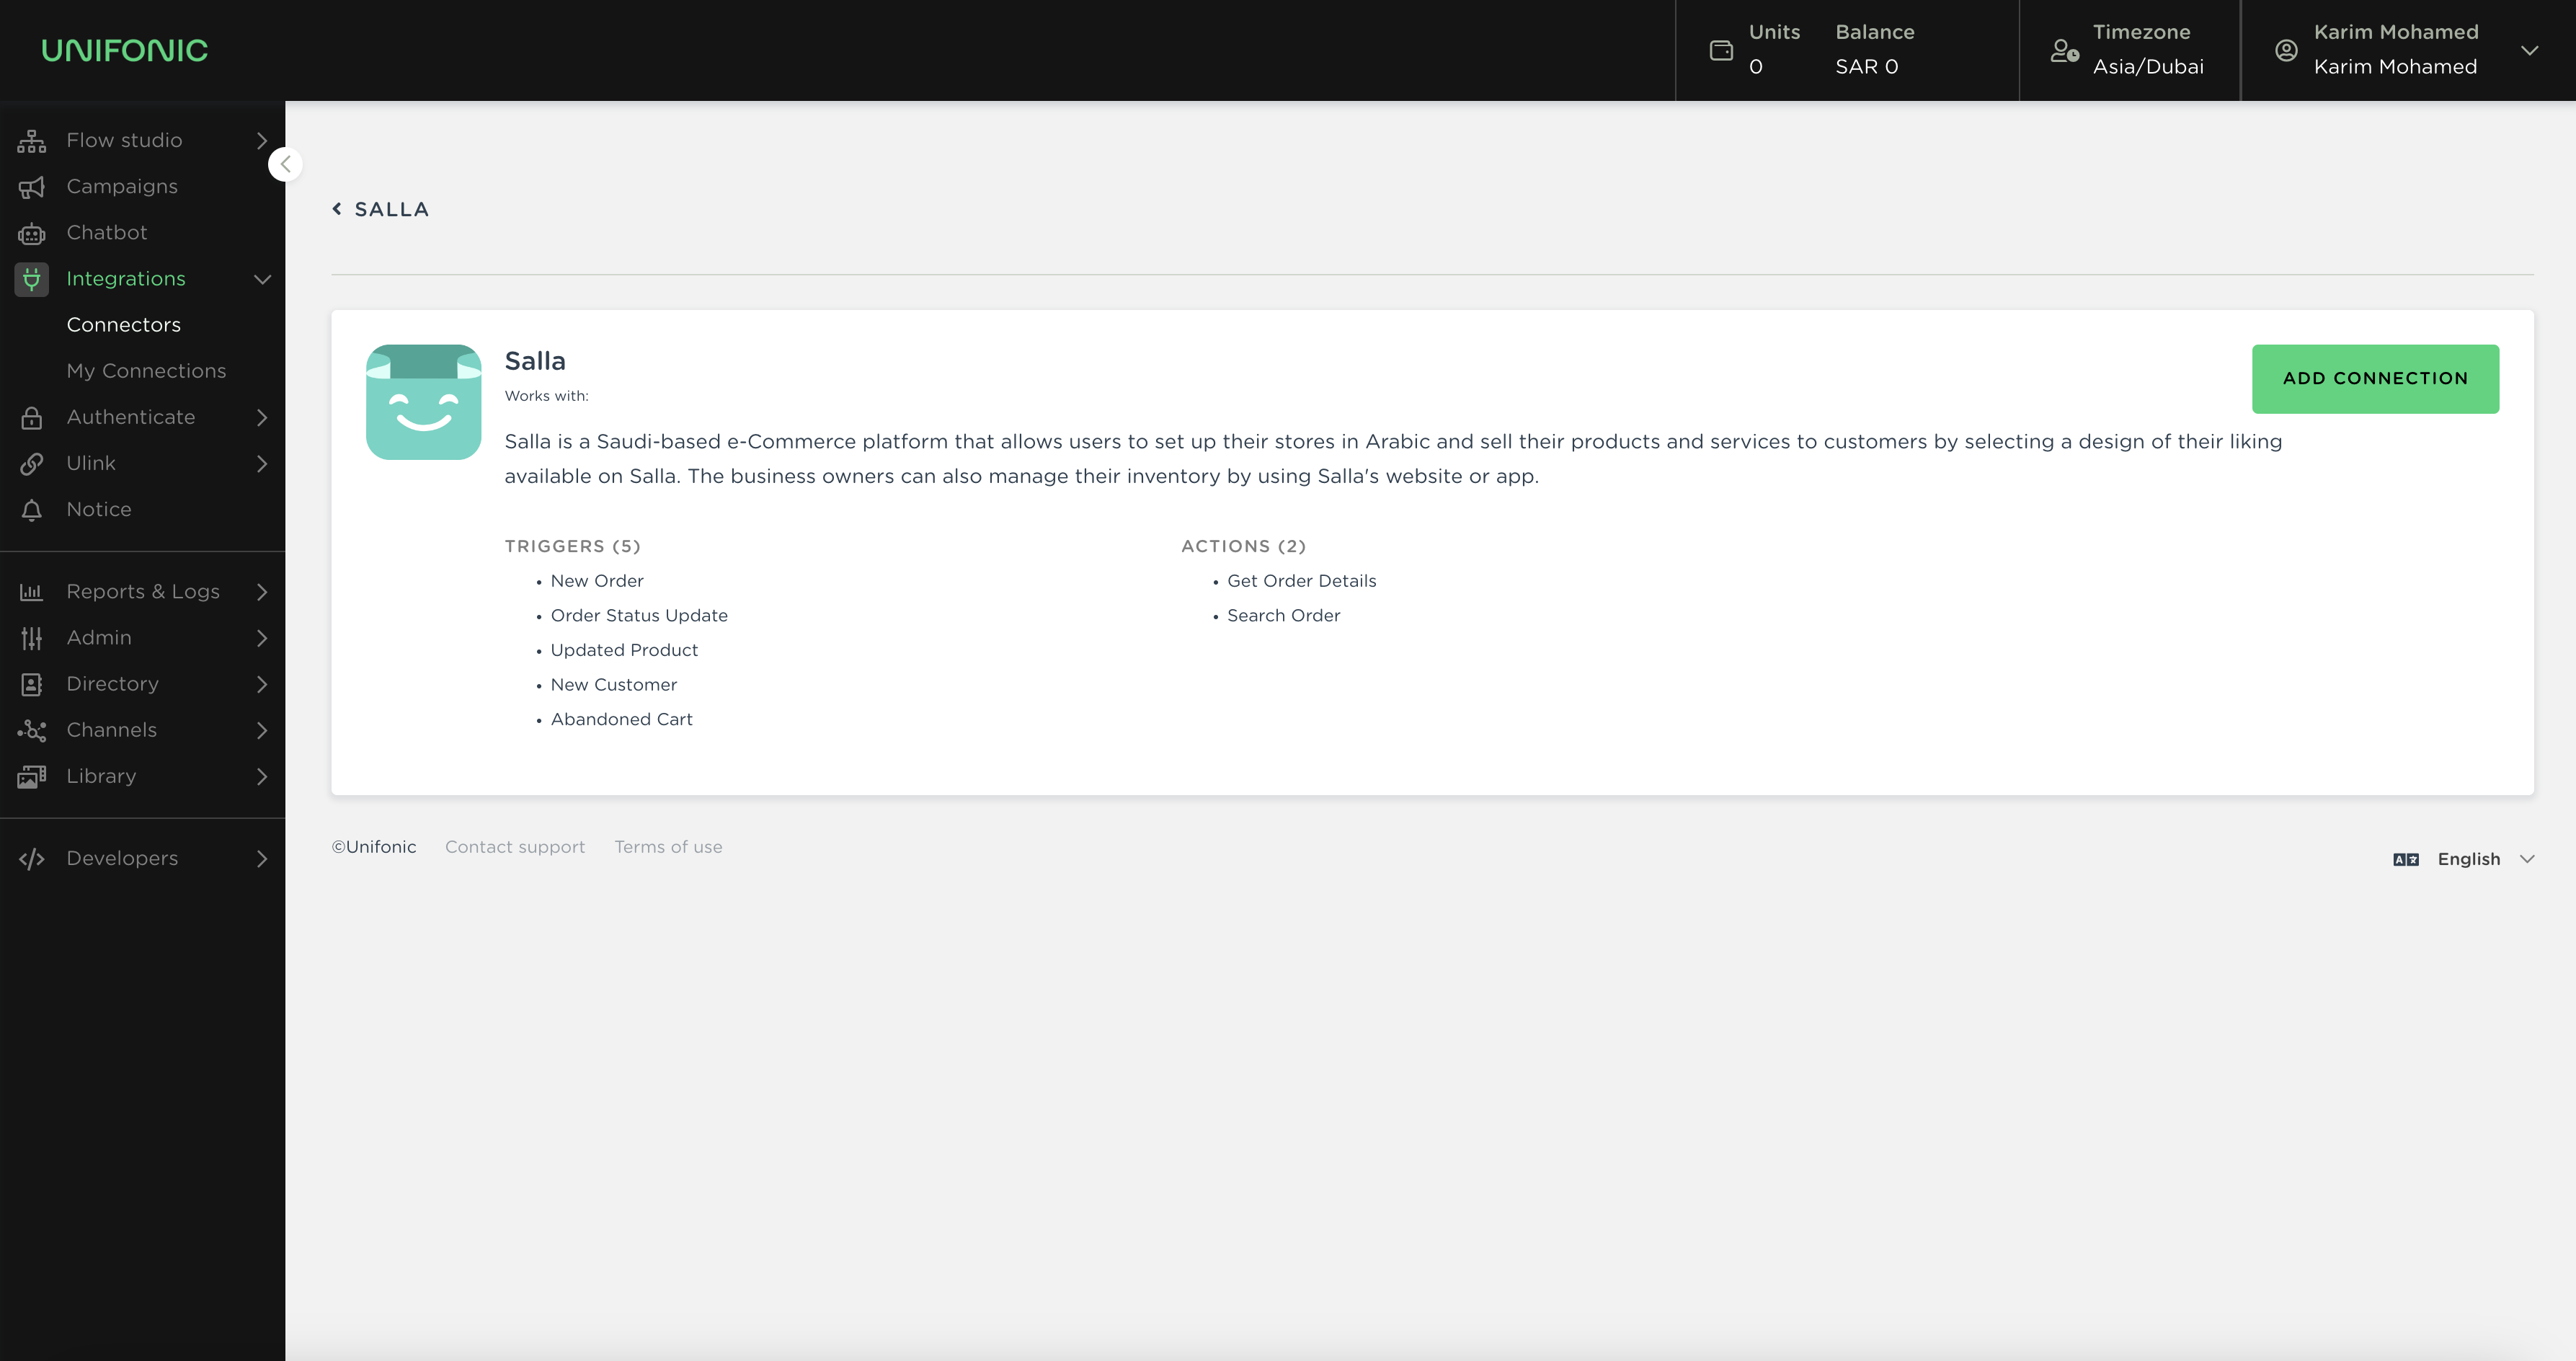
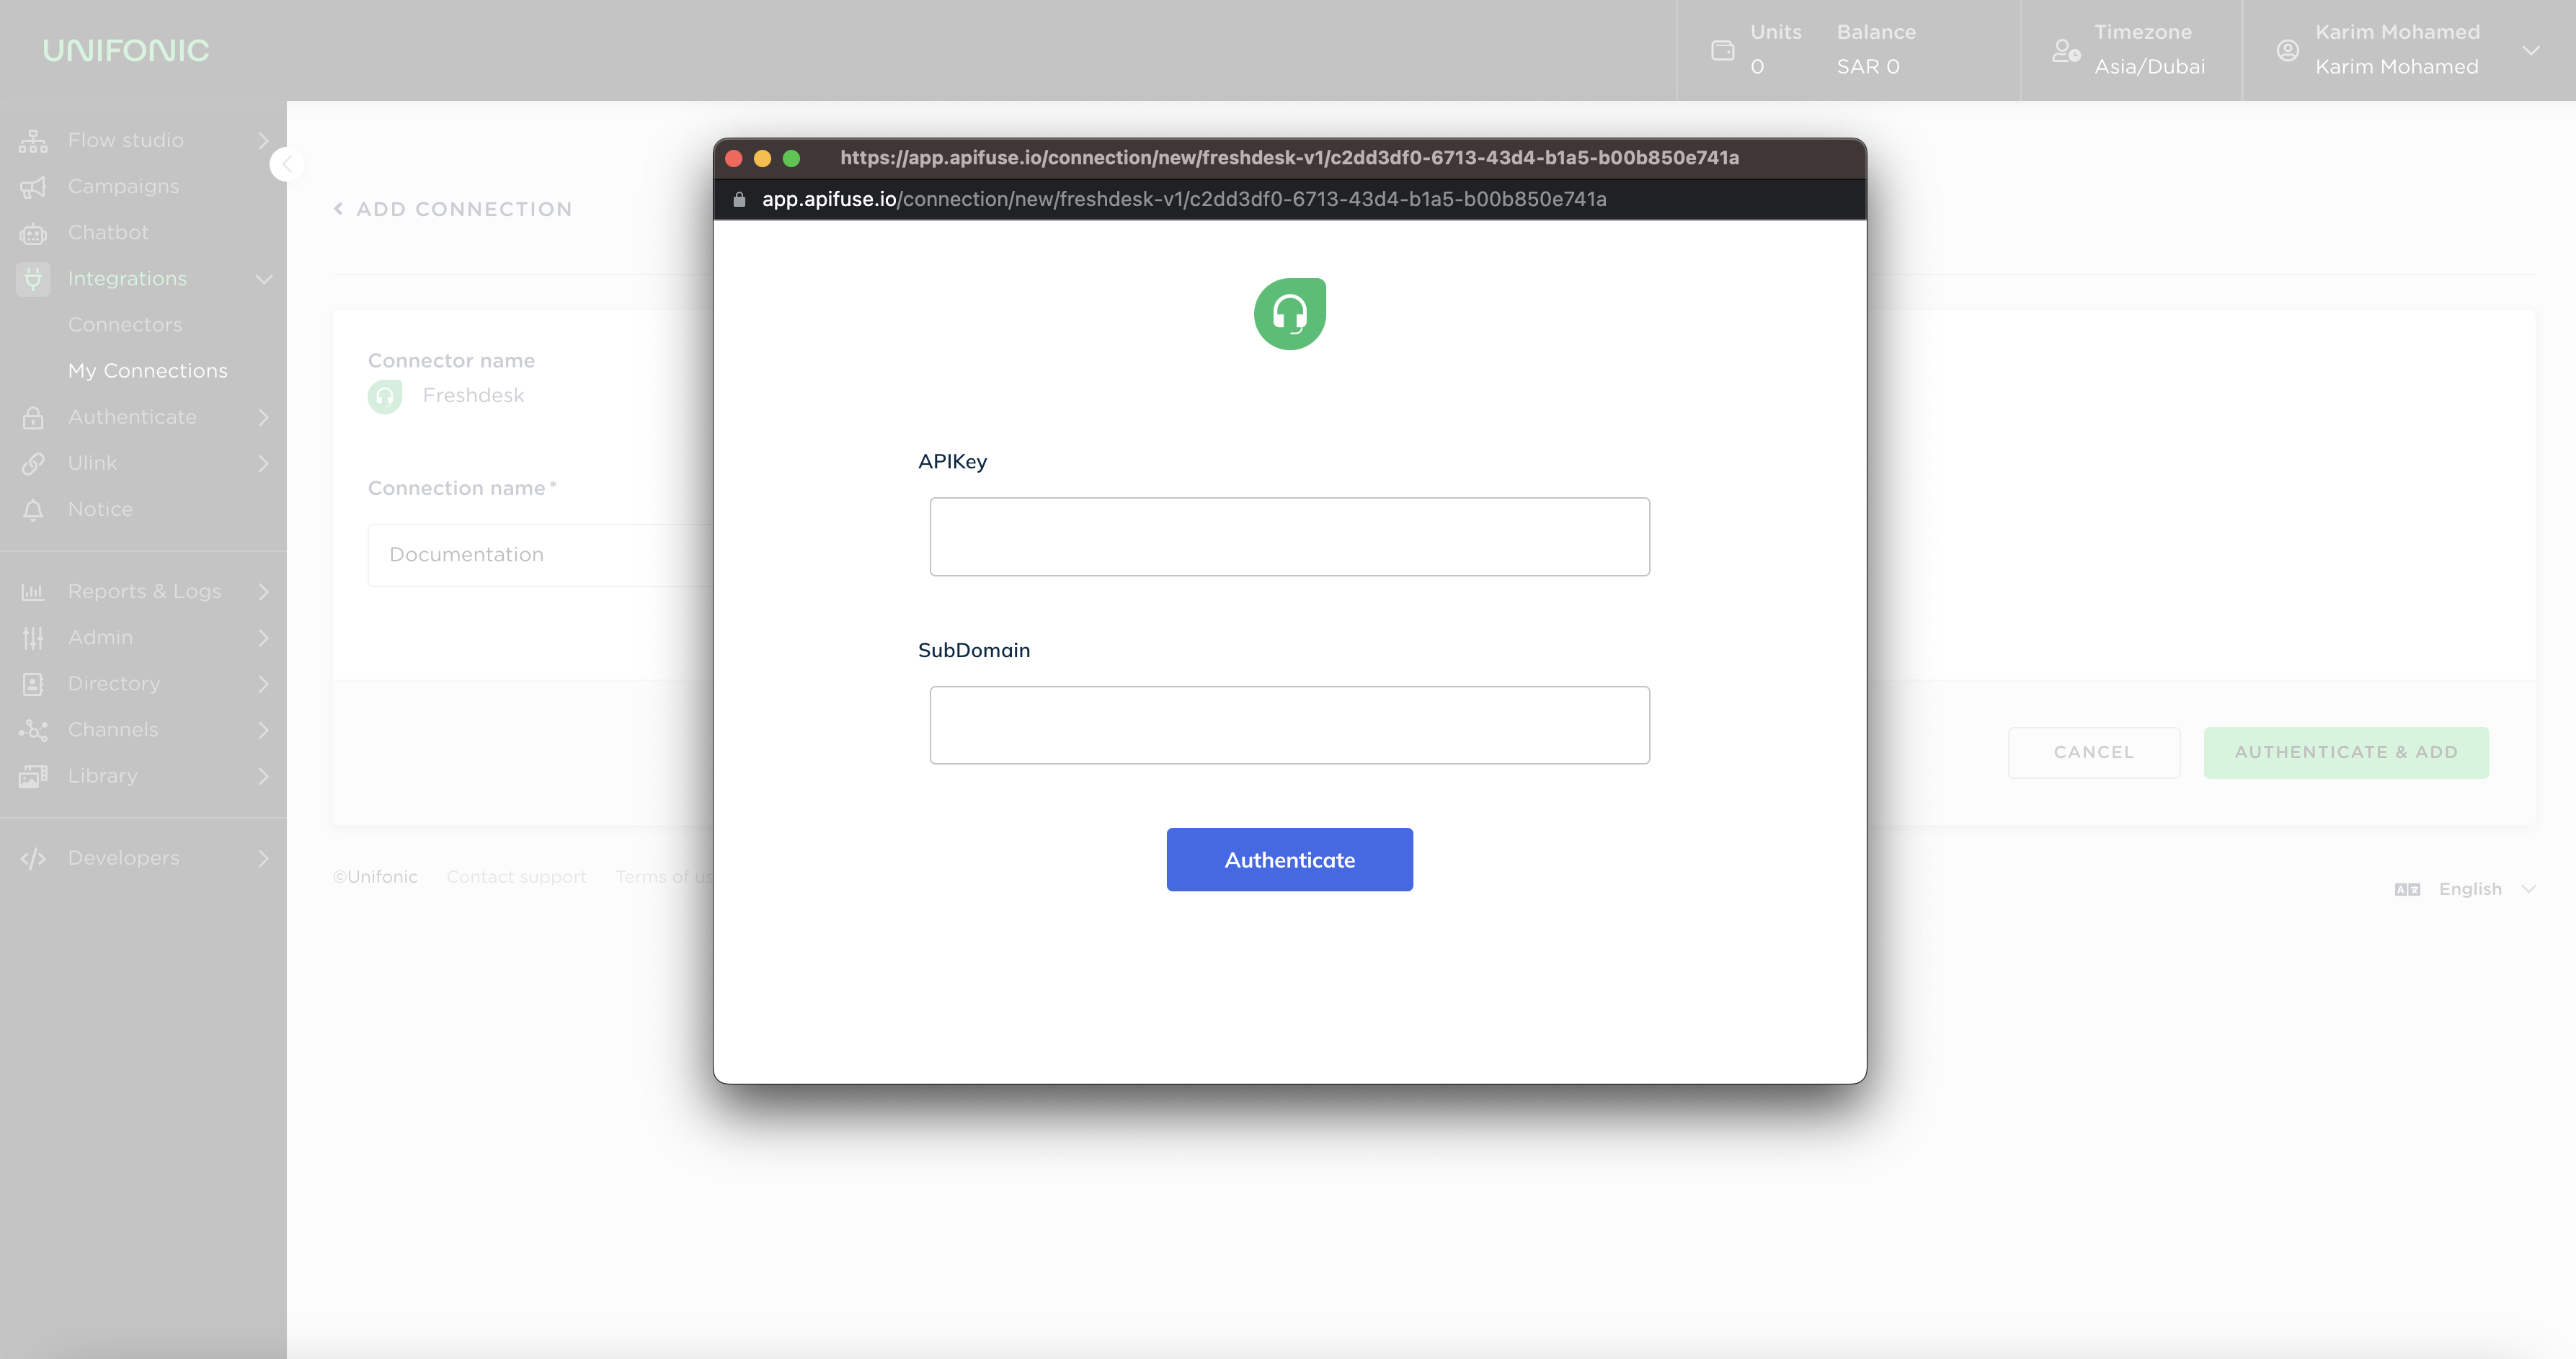
- Either from the know more view or from the connectors list you can click on add a connection to start the integration. Once you click on add connection the following view will be displayed and there you can set the name for your connector. (Which will appear in Flow Studio when you select the connection) and once is set just click on authenticate & Add)
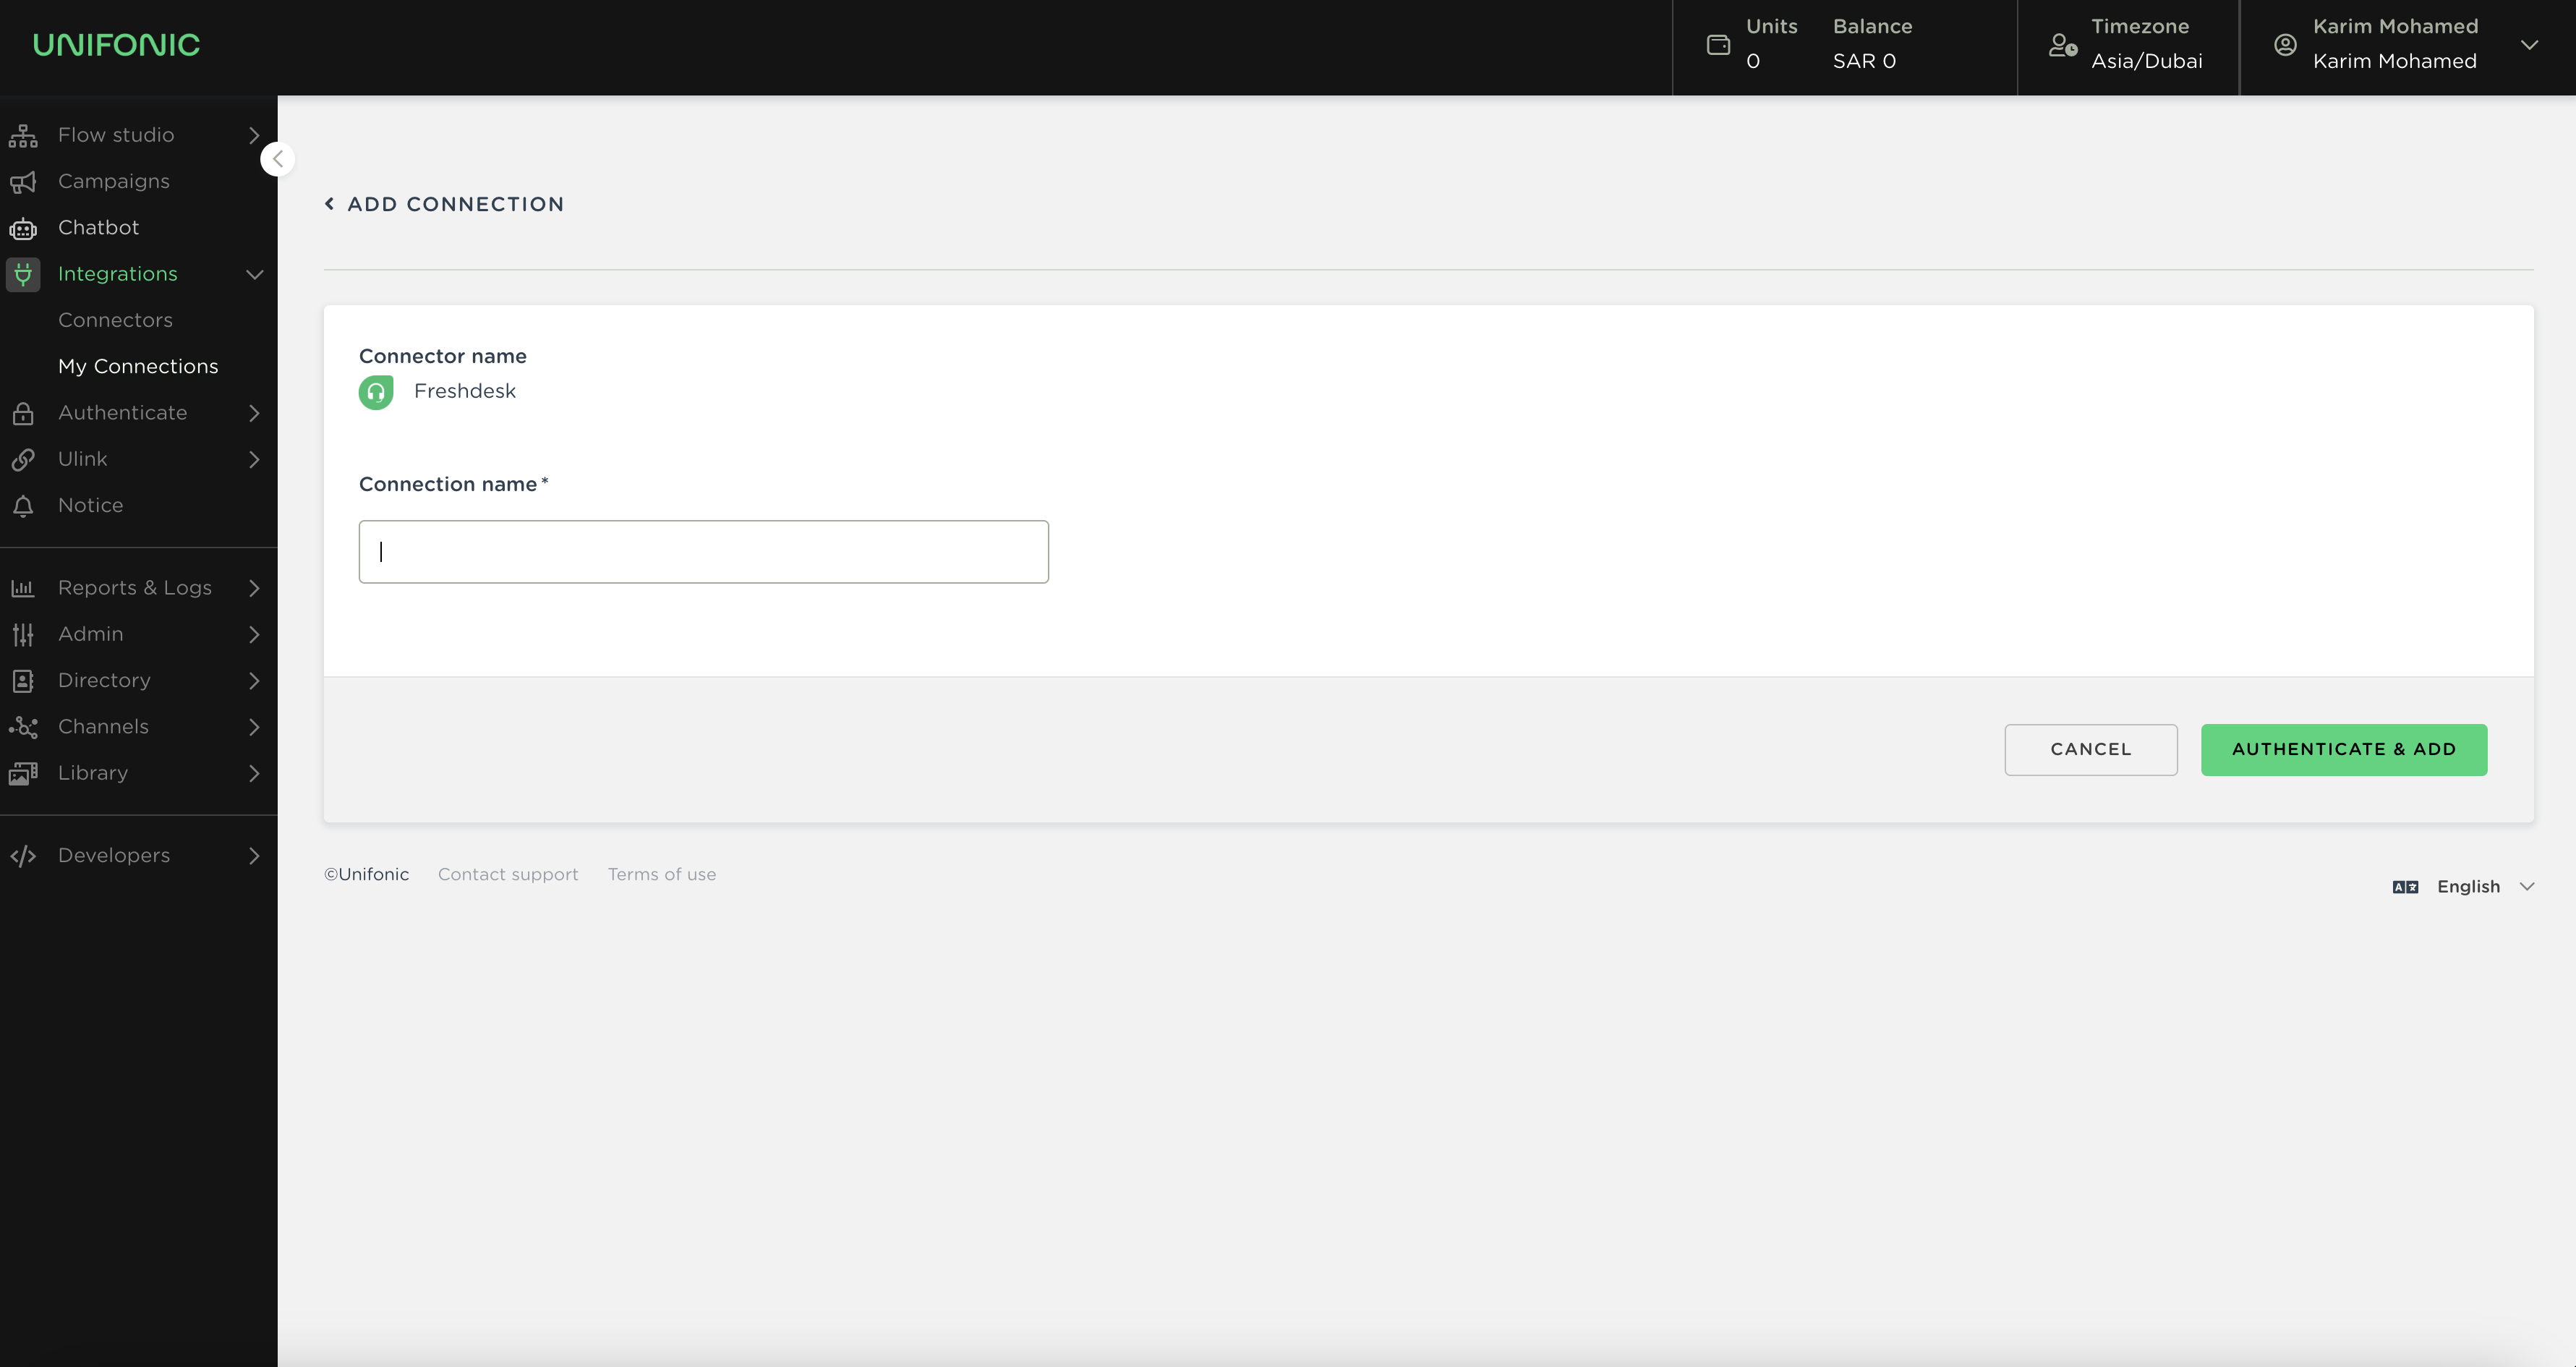
- Next step, a pop-up will be displayed with the required information, which varies based on the connector selected.
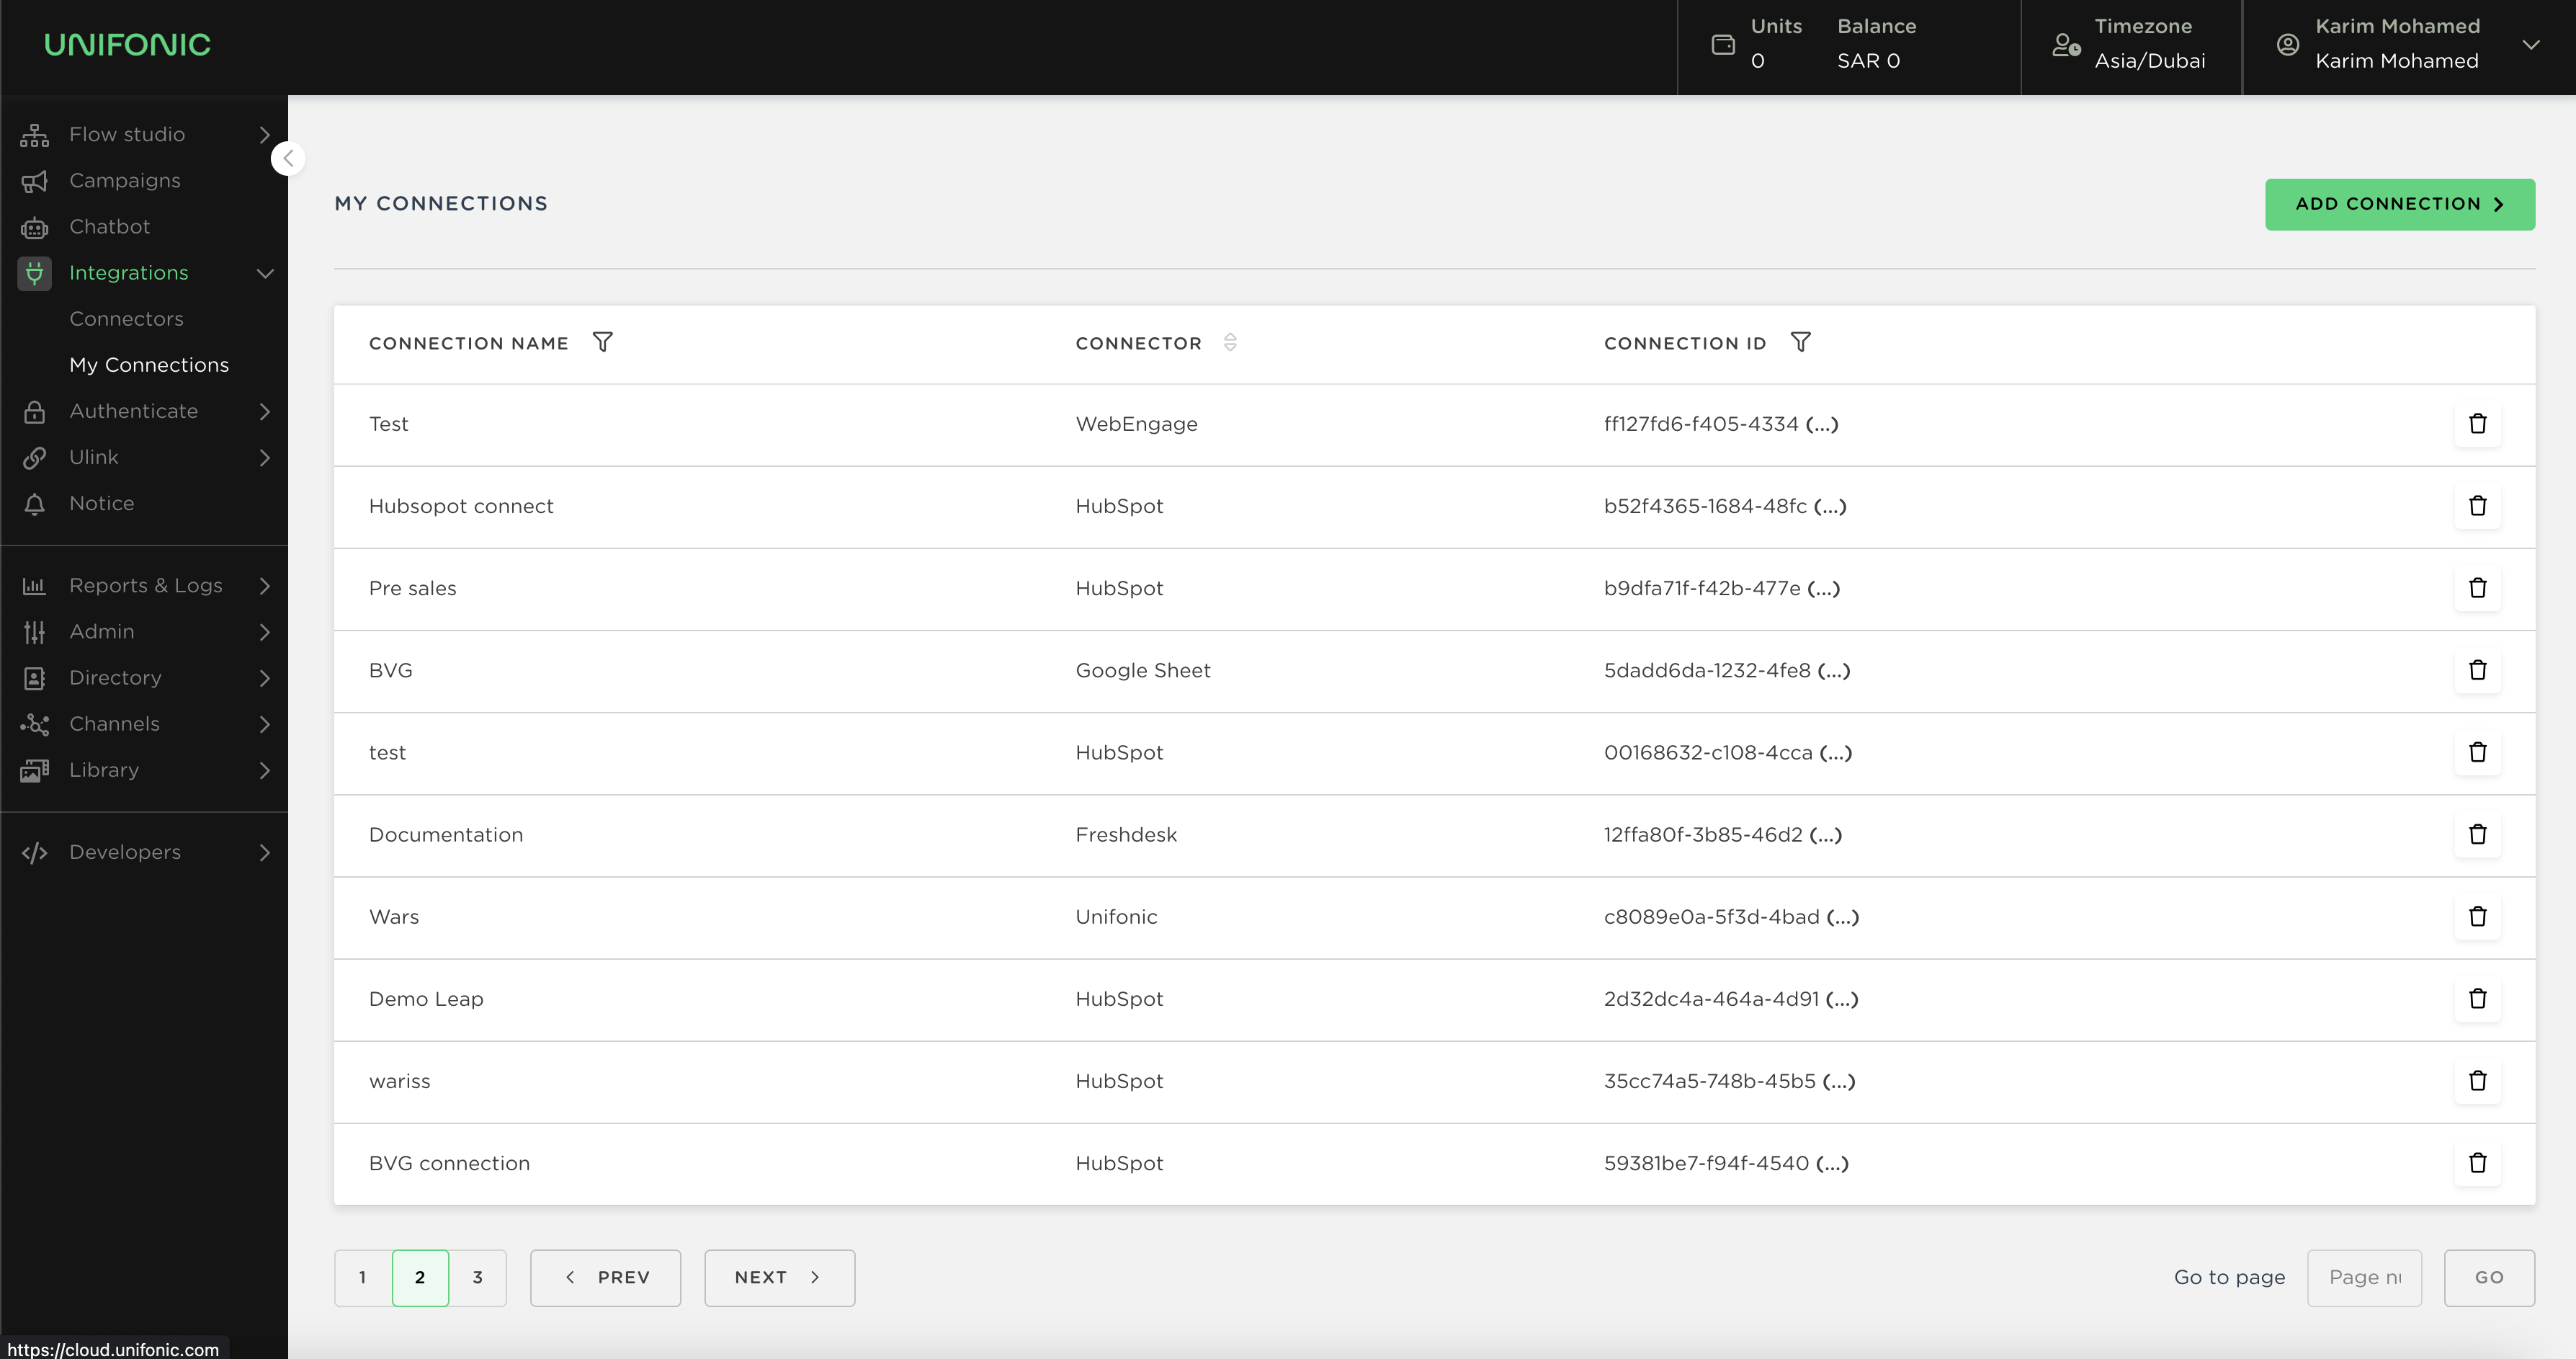
- Finally, once the credentials are set if everything is successful, you will be returned to the list of My Connections, where you will see all the connections from all your applications.
Updated 6 months ago